
Plasma globe random number generator
21 Aug 2022This summer I undertook a project to investigate random number generation. I wanted to try and recreate Cloudflare’s Lavarand using my own physical source of entropy.
While looking around my room for inspiration I saw my plasma ball gathering dust on a shelf. “Aha! Surely there’s no way to predict the movement inside one of those!” And so it began, I set out to use one of the most popular novelty items from the 80’s as a source of random numbers for cryptography.
Let’s clarify some jargon real quick
- True random number generator (TRNG) - values obtained from physical, unpredictable sources such as radioactive decay
- Pseudorandom number generator (PRNG) - values generated by an algorithm. They appear random to you and I but they’re not fully secure
- Cryptographically secure pseudorandom number generator (CSPRNG) - a PRNG which produces values that can’t be distinguished from a TRNG, used when security is critical
- Entropy - randomness used for algorithms requiring random seeds
- Seed - the input to a random number generator that determines the output produced by it
Note - The plasma ball itself is not producing the random numbers, instead it is producing entropy to be seeded into a pre-made CSPRNG, more on that later.
Now that we’ve cleared up the basics, let’s get into how the system works.
Hardware setup
I have set up a Raspberry Pi v2 camera module on a tripod pointing at the plasma globe. The camera is connected to a Raspberry Pi 4B via a ribbon cable.
 To minimise the amount of reflections on the glass sphere, I put the setup in a dark room with all the lights turned off. This allows the camera to produce a really clear image.
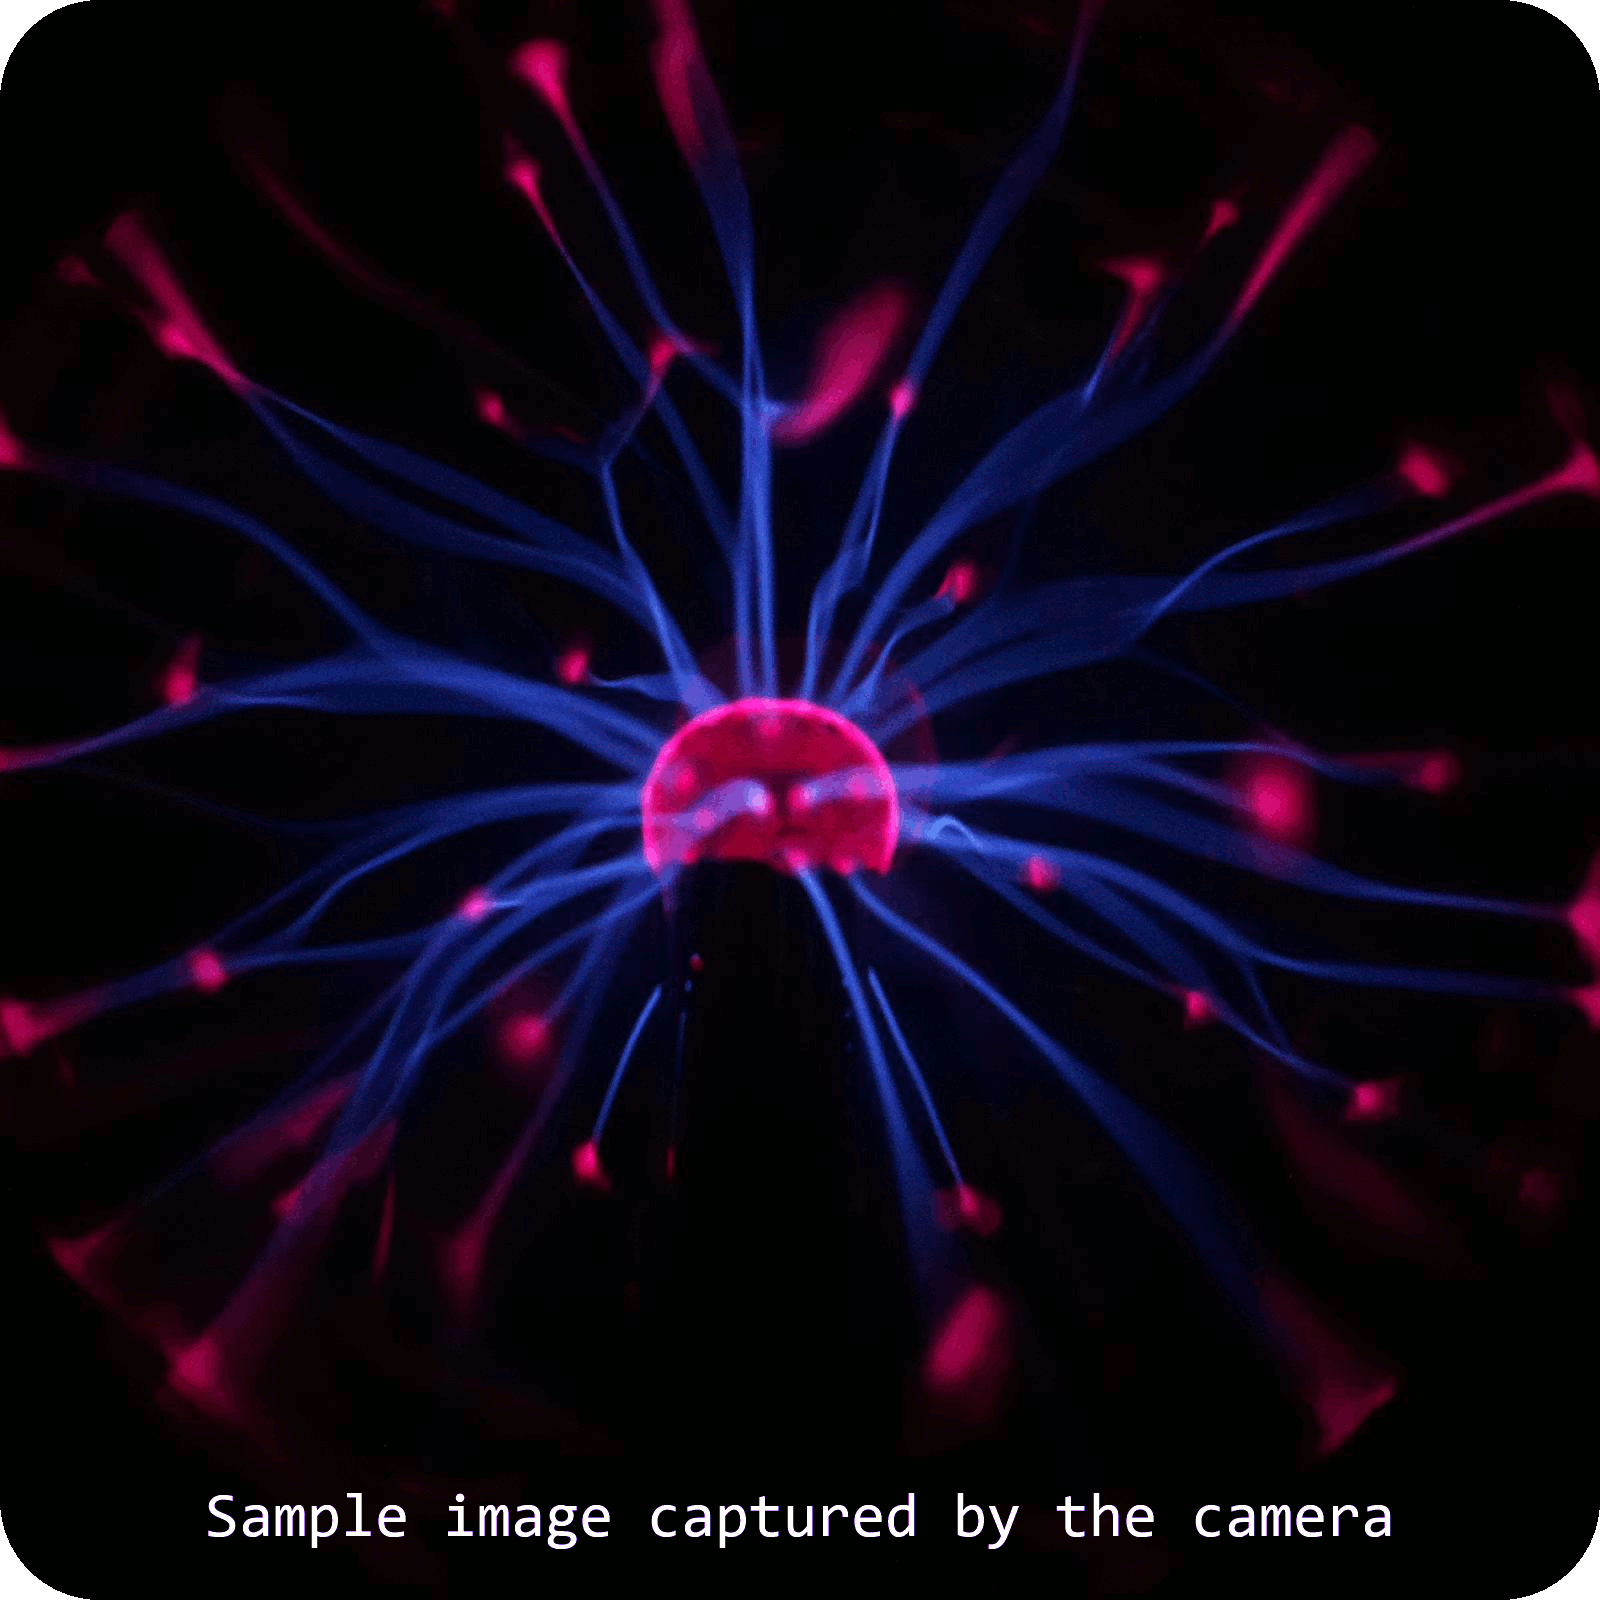 These cameras aren’t great at taking photos in low light conditions but that actually helps us here. It means that as well as capturing the entropy from the plasma, the camera picks up sensor noise that contributes even more randomness into the system.
How it works
- The camera takes a picture of the plasma globe and saves the raw data from the image in a hexadecimal format
- This hex data is then converted into one super long binary string that goes on to be fed into the random number generator
In the way I’ve described the system so far, there is a single point of failure. If an attacker were able to compromise or predict the entropy from the plasma ball, they’d be able to calculate the final random number produced. This leads us onto the concept of entropy mixing.
Entropy mixing
It’s best practice to mix multiple entropy sources together. In an ideal world, I would mix more than 2 sources but I didn’t want to stray too far from the plasma ball and complicate the project further.
The second source of entropy I chose to use is the Raspberry Pi’s system time. It’s measured as the time in nanoseconds since the Unix epoch (00:00 1st Jan 1970). Although this is technically a predictable value, it would be extremely hard for an attacker to guess it to nanosecond precision while compromising the the plasma ball at the same time.
The binary data from the image gets concatenated with the binary value of the system time and then the result is passed through a SHA-256 hash. This means that as long as one of the values remains unpredictable the whole system will be secure.
After the binary string is hashed, the product is converted into an integer and fed into the CSPRNG.
Generating the random numbers
The random number generator I chose to use for this project is ChaCha20. When the ChaCha algorithm is provided with an unpredictable seed and executed for 20 rounds it is considered to be cryptographically secure. In fact, ChaCha20 is the CSPRNG used in the /dev/urandom Linux file. A faster implementation (ChaCha12) is used for disk encryption in Android.
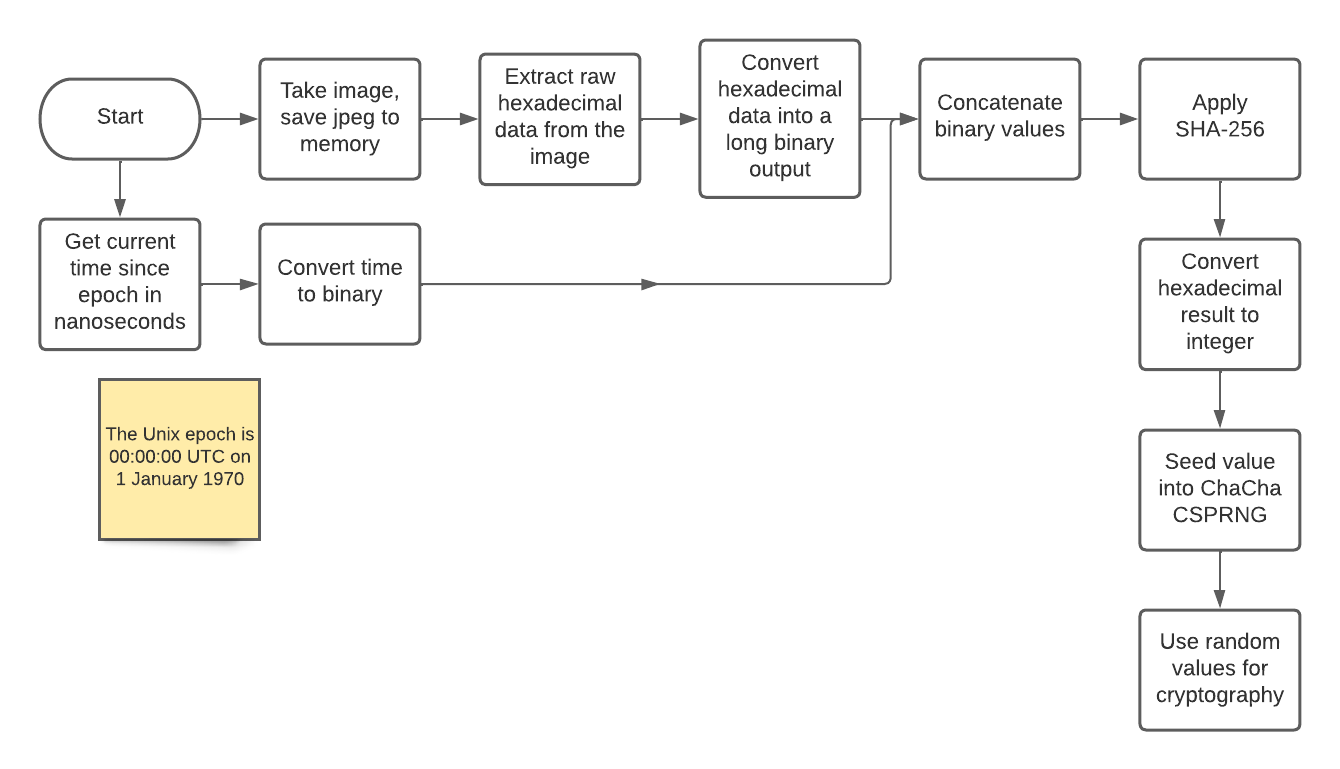
Here’s what a complete overview of the system looks like.
Flowchart
This process is inspired by the since expired Lavarand patent made by Silicon Graphics in 1996.
Code
import picamera
import picamera.array
import numpy
from PIL import Image
import hashlib
import time
import sys
from randomgen import ChaCha
from io import BytesIO

with picamera.PiCamera() as camera:
    with picamera.array.PiRGBArray(camera) as output:
        camera.resolution = (2464, 2464)
        camera.capture(output, 'rgb')
        pil_im = Image.fromarray(output.array, mode="RGB")
        hexStream = BytesIO()
        pil_im.save(hexStream, format="jpeg")
        hex_data = hexStream.getvalue()
        mixedEntropy = str(bin(int.from_bytes(hex_data,byteorder=sys.byteorder))[2:]) + str(bin(time.time_ns())[2:])
        hashHex = hashlib.sha256(str(mixedEntropy).encode('ASCII')).hexdigest()
        hashInt = int(hashHex, 16)
        randomNum = numpy.random.Generator(ChaCha(seed=hashInt))
        randomValue=randomNum.standard_normal()
        print(randomValue)
I chose to use Python for this project because it is the language I’m most confident in. It also has easy libraries for using the Raspberry Pi camera.
I hope you found this write-up interesting and learned a bit about random number generation at the same time. If you have any feedback I’d love to hear from you in the comments!
If you’d like to dive deeper into the technical details of this project you should check out my GitHub repo where you can find all of the code as well as a complete report for the investigation.